
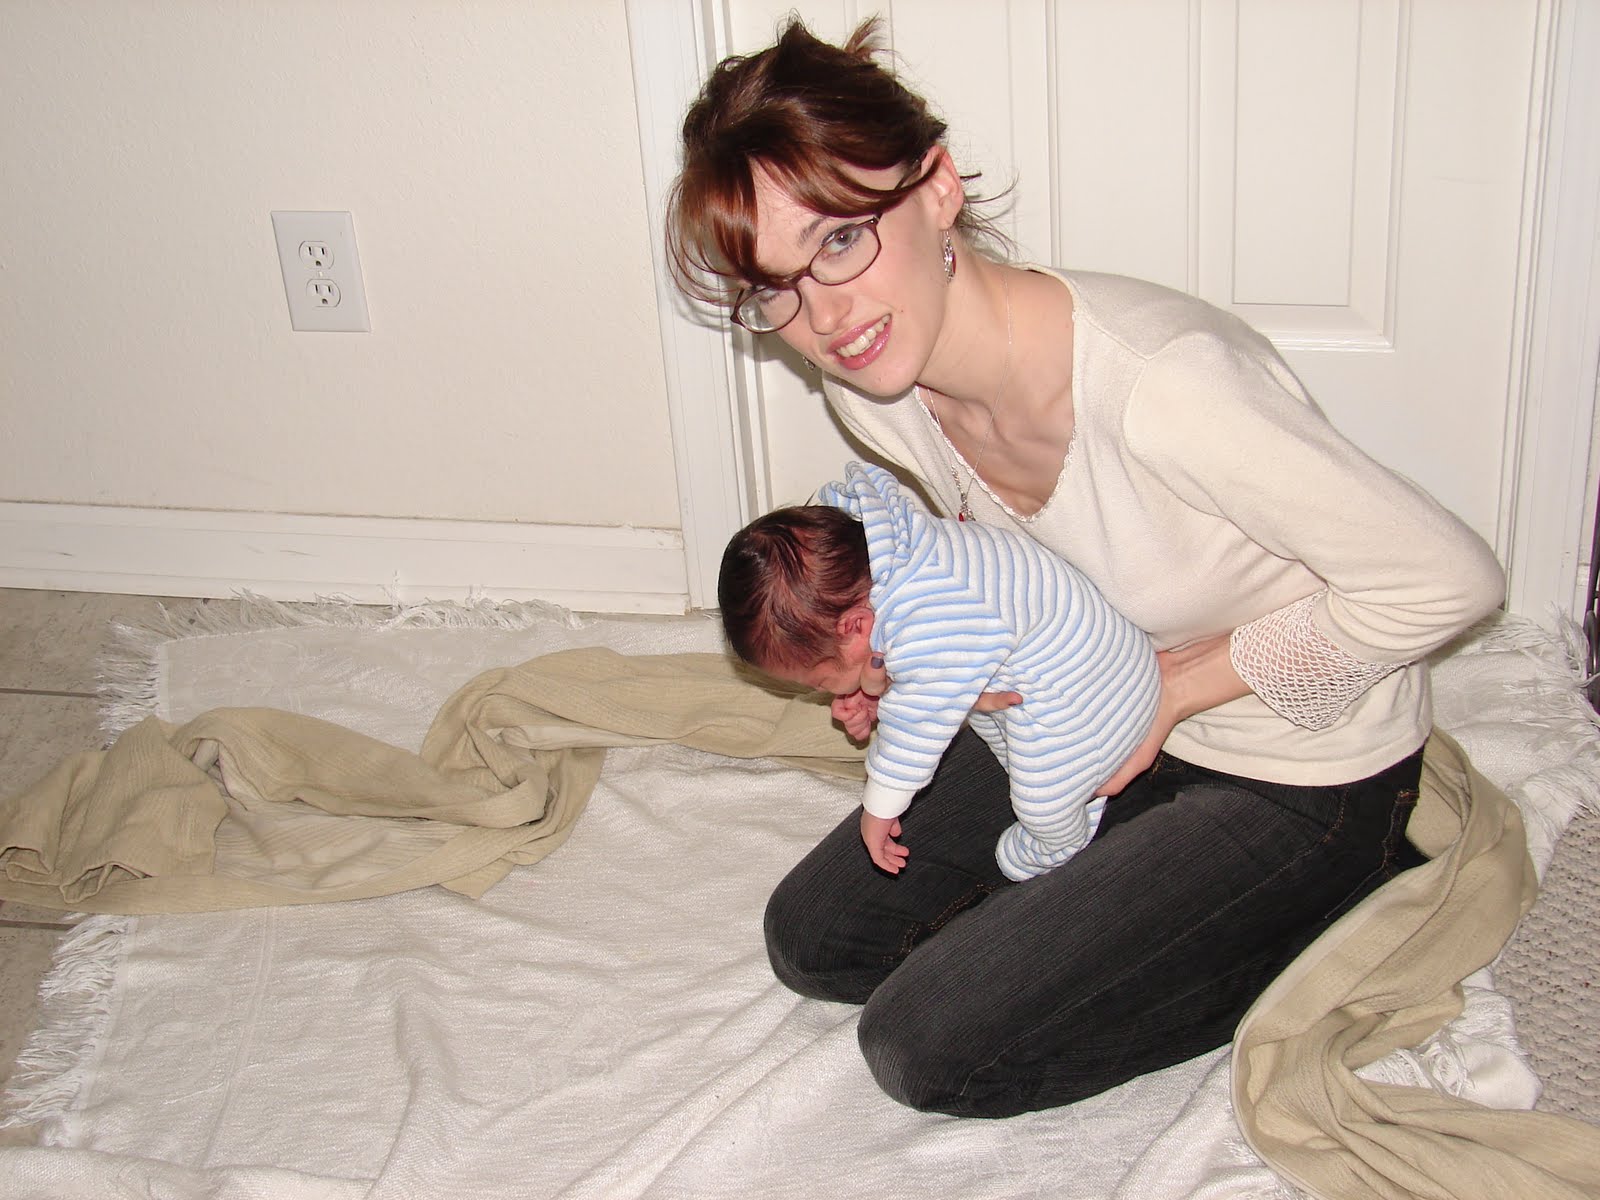
For this back wrap, start off by kneeling on a soft surface and using a mirror and/or another person to help while you're learning. Hold the newborn under his armpits with one hand so that his head falls forward onto your hand for support. Have your wrap ready and spread out behind you so as soon as the baby is in place all you have to do is pull the wrap up over them.
Gently lift them over your shoulder and place them in the middle of your back.

Pick up the top rail of your wrap and bring it up to the top of your baby's neck.

Bring both tails of your wrap up over your shoulders, making sure that the bottom of the wrap is tucked under your baby's bottom, and for new little ones tuck it under their feet too.

Cross the tails over your chest. To help keep everything snug you can hold one tail of the wrap in between your knees while crossing the other one around your back.

Here's one side crossed around my back and over the baby.

And two sides. This makes an "x," just like the front wrap I showed before. For this tiny one I didn't go through the legs, but for babies a little bit older, or when using a thinner fabric, I cross through the legs. With both sides of the wrap in front, now just tie or tuck your wrap to secure, and you're done!

I checked in a mirror to see what side his head was facing and turned that side of the wrap down on my shoulder, so we can see his cute little face, and to make sure that there's plenty of room for him to breathe.

Now I'm ready for whatever needs done. This back wrap is so great when you have other children to run after, and for doing things that require you getting close, like reaching down into a washing machine. My day is so much easier when I have happy babies, and am also able to have them out of my way so I can still take care of things.

Now, to get them down, just kneel back on a soft surface again and untie your wrap.

Pull everything off of both of you.

And let them slide down into your hands.

All that, and he's still asleep :o) It's great working with newborns!

Now one more front carry. The great thing about this wrap is that you can put it on and leave it all day. By tying it on first, you can put your baby in and take them out without having to tie and untie your wrap again and again. It's great for days when you're in and out of the car a lot. Start just like the front wrap cross.
Around the front...

And crossed in the back up over your shoulders.

But this time cross the tails and put them inside the pocket. Leave it loose enough to get your baby in the wrap. You may need to try a time or two before you get the hang of how much room to leave. This will be different, of course, depending on your baby's size and the type of fabric your wrap is made out of.

Tie in back.

Find the inside cross of the "x" (to make spreading the wrap out easier) and put your baby's bottom in.

Then spread out the outside cross of the "x" over your baby's back and head.

Now just pull up the pocket and you're very secure with a newborn, or any sleeping or nursing baby.

To get your baby out, just pull the pocket down and open the outside and then the inside of the x and lift your baby out. Everything is still right where it needs to be, so you can put them right back in whenever you need to. It's so easy with just a tiny bit of practice. Once you get the basic concept that there is always a pocket or an "x" or both somewhere in the wrapping, it's really easy to adapt to the variations.
Wow again. Wish I had know this when I had my babies. The carriers I used were great too though but this would have given me more alternatives. He looks so comfy :)
ReplyDelete